 Tom Leverstone
DIY eurorack case
Sun 16 July 2017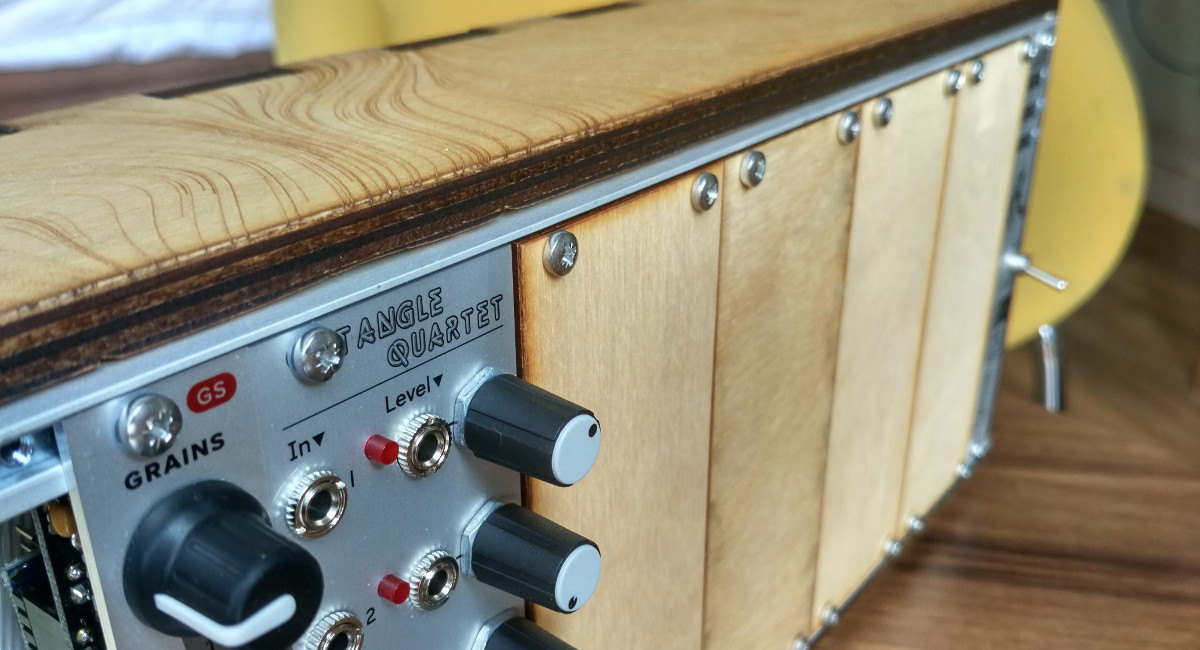
I recently drawn into the rabbit hole of modular synthesis. This week I finished building my first eurorack case. It's a 3U 84hp skiff. Or in humans language, it is a relatively small, beginners sized case, to accommodate my first modules.
The plan
I have access to a laser cutter at uni, so I thought that it will be great to use it for the project. Add to that some open source designs for laser cutting eurorack cases, and it looked like an easy path to follow. But then I started to rethink it too much. I already bought the Tiptop audio Z-Rails to fit into the case, which is not exactly the same as the one in the design above, In addition, our laser cutter can cut much thicker wood than the 6mm used in this design. So maybe I will design my own case...
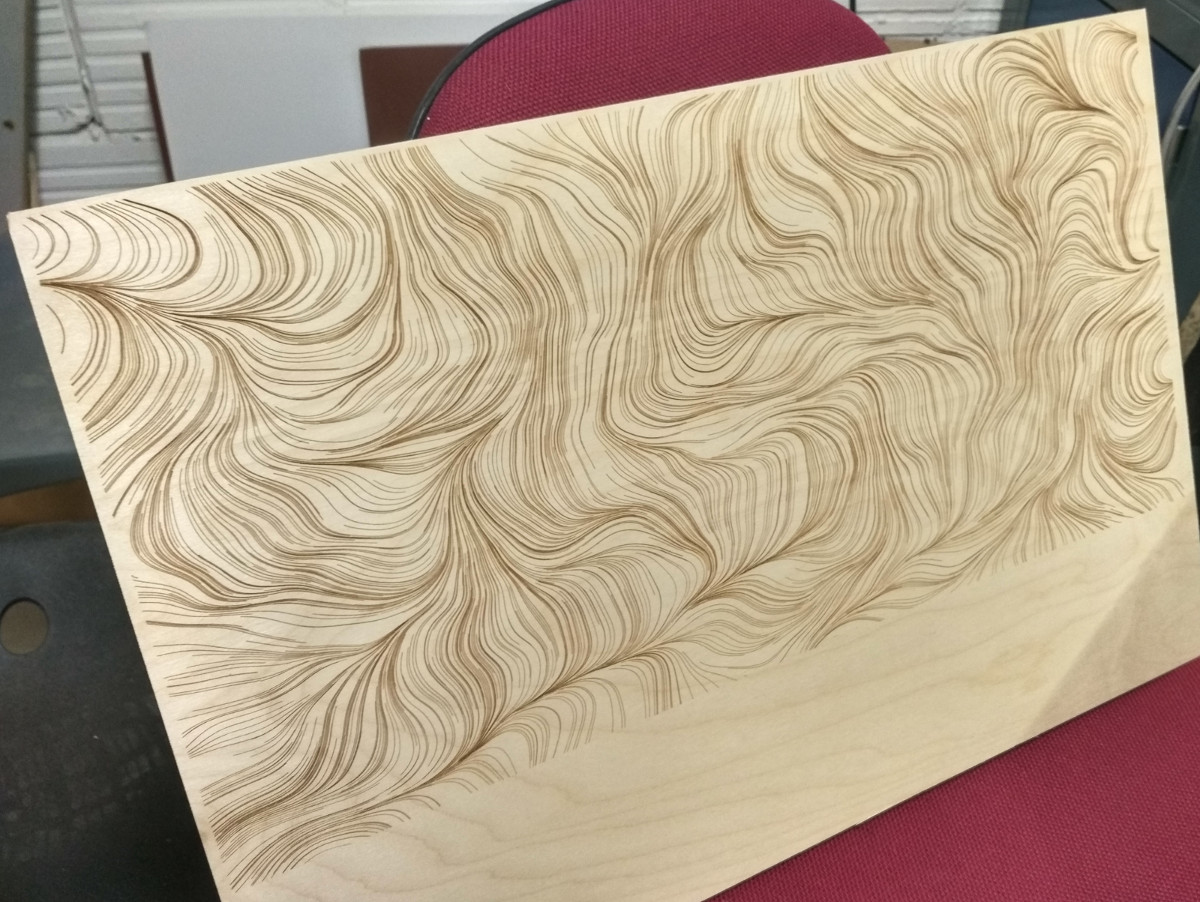
I decided to do so, and with the help of make a box produced my own design files, for a 9mm plywood. And if I'm already using the laser cutter to cut the wood, why not add a stylistic engraved texture on top of it? Inspired by Aaron Meyers, I opened processing and started to code a generative texture to engrave over my case. I was sure that engraving the texture will be the most complicated part in this DIY project, but I was wrong. Very wrong.
What didn't work
These are the mistakes I made. All of them could be avoided easily.
- Consider the position of the screws that connect the rails to the case. I didn't thought about it, and it ended to be very close to a cut, as you can see in the picture.
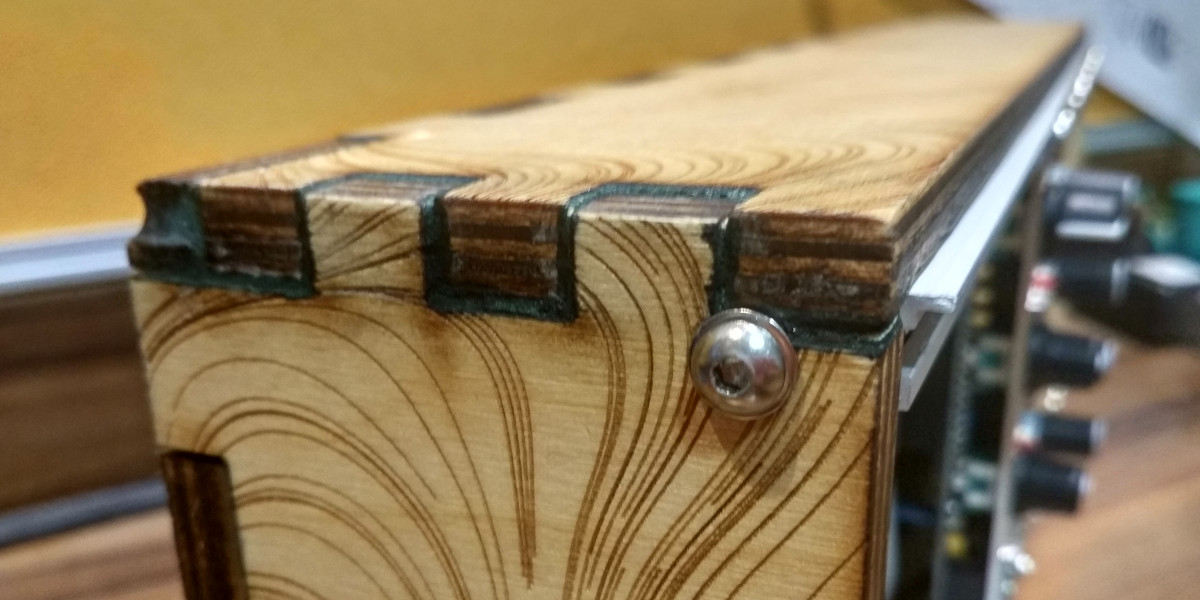
- Make sure that the laser cutter can actually cut the material you got! And if unsure, try on a small piece of material before starting. I checked with the workshop instruction, and was sure that 9mm will be fine. On the first attempt, when I configured the laser cutter to attempt to cut 9mm, it ran so slowly that the material caught fire (you can see the burned area in the upper left corner in the picture above)! Then, I speed it up, but with higher speed it took around 20 iterations until it was cut properly. Two consequences of the issues I gut with the cuttings are the burned cut, and...
- The cut ended up way wider than I expected. I thought that the laser will cut the material very precisely, and in minimal width, but the cut ended up to be pretty wide (I will say ~2 millimeters).
- Make sure you got the dimensions right! I checked online and saw that modules are 128.5mm high. I added the width of the top edge of the Z-Rails, which is 1.2mm, to each side, and ended up with 131mm as the internal height for the case. THIS IS WRONG! It seems that the correct height should be 133.35mm, but recheck for yourself. I had to use chisel to trim 1mm from the top and the bottom pieces to open some more room for the rails.
The went well
The engraving ended up much better than I expected. I started with one PDF file for the entire engraving job, with an overall length of lines to engrave just over 100 meters. When I tried to send this file to the printer the driver's preview window didn't show all of the lines in my PDF. Maybe it's just a presentation issue, but I decided to separate the job into layers. This was easy for my case, as the lines were generated by processing one by one without any dependencies between them. In the original PDF there were 30K lines, so I created 6 PDFs with 5K lines each, that when overlaid create the same result. I really glad I did that for few reasons.
- I didn't know if the printer will move like a regular printer (with one axis moving forwards all the time and the other forwards and backwards repeatedly), or that it will do the lines one by one as they were "recorded" in the pdf (random order), or will optimize the movement. Apparently, it optimizes the movement, meaning that it starts from one corner and draws line by line from there towards the other side of the board. If I had send the whole plan, and the process was too slow, I would have been ended up with only half of the board engraved. Fortunately, each layer took "only" 53 minutes, so it wasn't a real problem.
- Second, with this layered approach I could see the state of the engraving after each layer and decide if I want to continue to the next layer or not. Eventually, I stopped after the 4th layer as the result was good enough for me.
I also cut some blank panels on the way, from 3mm plywood. An easy task for the laser printer. In addition, the gluing and finishing (with danish oil) were successful and without any issues. But there is nothing interesting I can tell you about these, so let's move on.
Files and disclaimer
The design files are here. Feel free to use the engraving sketch in generative_waves/generative_waves.pde for whatever you want. As far as I can tell the blank panels files are also fine. BUT PLEASE DON'T USE THE FILES IN THIS REPO TO CUT A EURORACK CASE!
To summarize
It's not the most accurate build, but my new case does the job. Despite the problems, IMHO the end result looks very good. And finally I'm starting to play with it, and enjoy every moment!
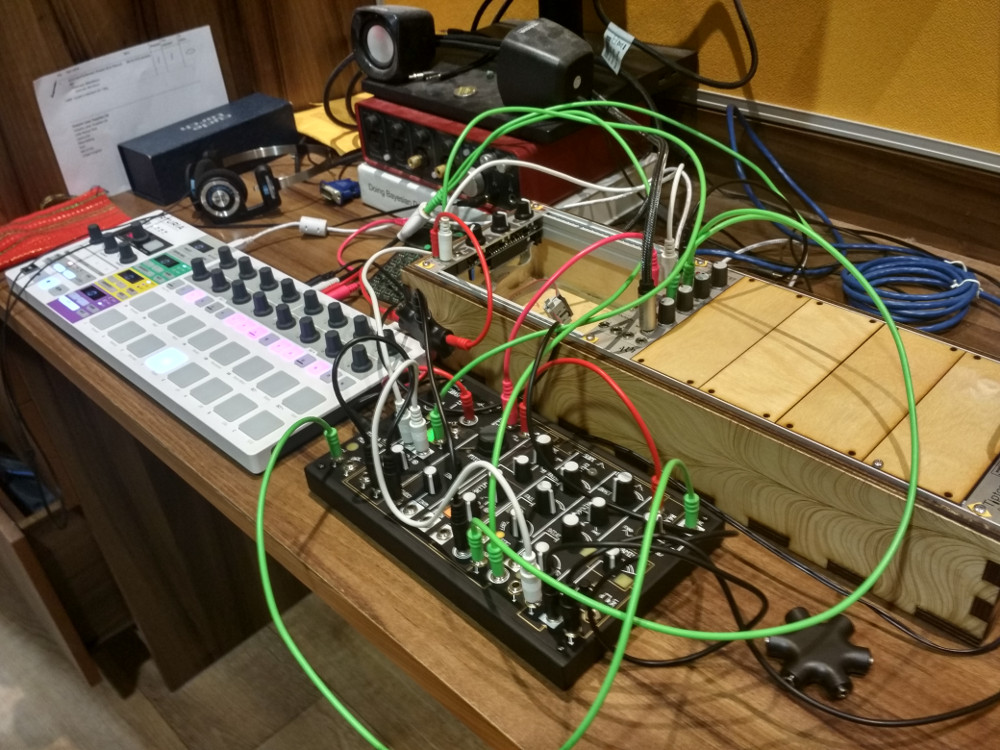
If you want to see more here is an album of the entire building process. Some modular music will come soon. Stay tuned!